
Planning · Published January 14, 2026
How to measure a room before furniture arrives.
Updated June 2, 2026. Part of the library. Related: moving path, rentals.
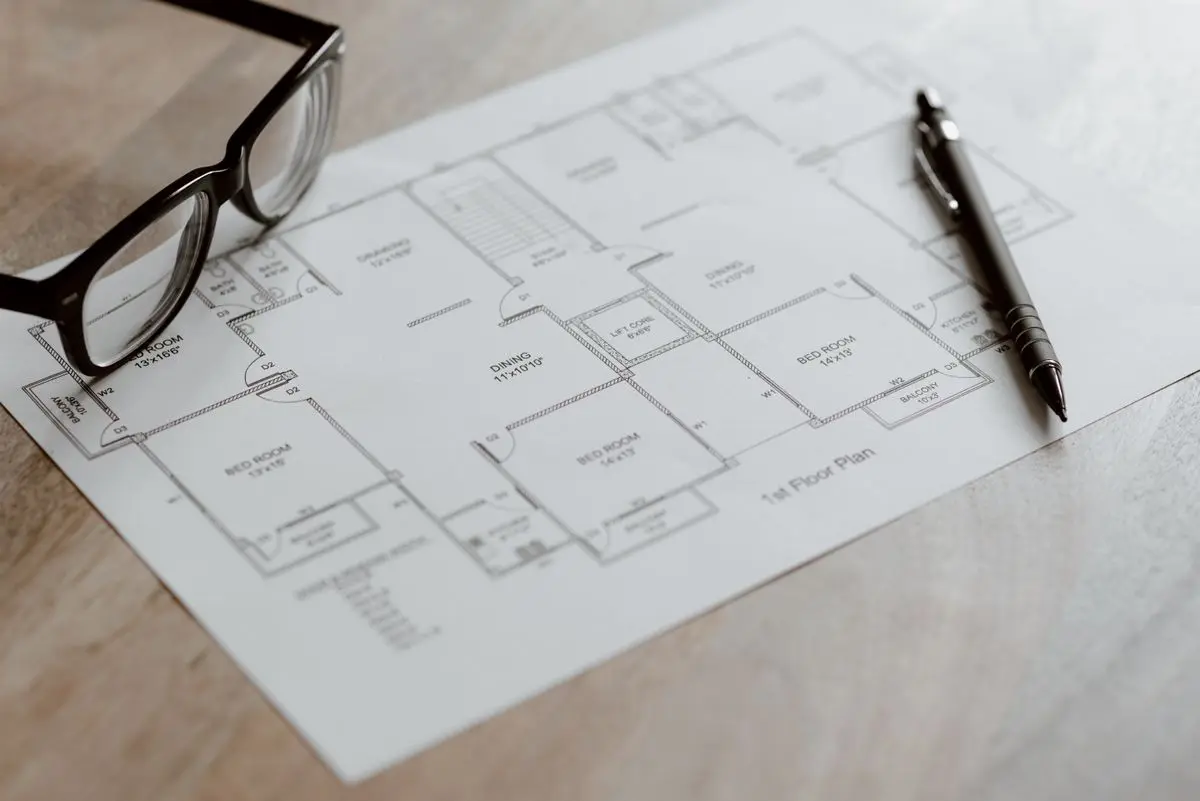
Write these five down
- Clear width of the destination wall, inside the baseboard.
- Clear depth of the room at the same spot.
- Ceiling height at its lowest point along that wall.
- Clear width of every door on the path, with the door open.
- Clear height of those doors, from finished floor to the underside of the stop or closer.
A product sheet describes the finished piece. The room describes what will actually surround it. Those two descriptions meet on a sketch. If you only measure the open stretch of wall you hope to use, you will miss the casing, the radiator, the floor vent, and the door that has to stay on the path until the piece is inside.
You need a metal tape, a pencil, paper, and a phone for photos of the tight spots. A 24-inch level is useful later, when you check whether the floor slopes, but it is not required to take the first set of numbers. A laser measure is optional. It does not remove the need to look at the opening.
Measure the clear opening, not the trim
Run the tape from finished surface to finished surface. On a wall with baseboard, the furniture sits in front of the baseboard or you have to account for it. A 60-inch dresser against a wall with 3/4-inch baseboard does not get a full 60 inches of visual clearance if you measured from the outer face of the trim and then ignored it.
Do the same at doorways. Measure the narrowest clear width with the door open as far as it actually opens. Hinges, a door stop, and a closer can steal an inch that the rough opening never mentioned. Measure height from the finished floor to the lowest part of the head, not to the top of the casing. If a rug or a threshold sits in the opening, include it or move it and note which you did.
A worked example
The wall is shorter than it looks
Windowsills, outlets, switches, thermostats, supply vents, and returns all interrupt a “blank” wall. A media console that covers an outlet is a problem you can see in advance. Photograph the wall straight-on and from each end, then mark the obstacles on the sketch with distances from the nearest corner. Corners are easier to find again than “about a foot from the window.”
Radiators and baseboard heat need air in front of them. A piece pushed tight to a heater is not only a fit question. Leave the clearance the heater needs, and measure the remaining run.
Ceilings, soffits, and slopes
Ceiling height at the center of the room can be irrelevant. Measure along the wall where the piece will stand, and measure again if a beam, a slope, or a bulkhead crosses that line. A tall bookcase that fits the middle of an attic room can meet the slope a foot from the wall. Record the lowest point, not the average.
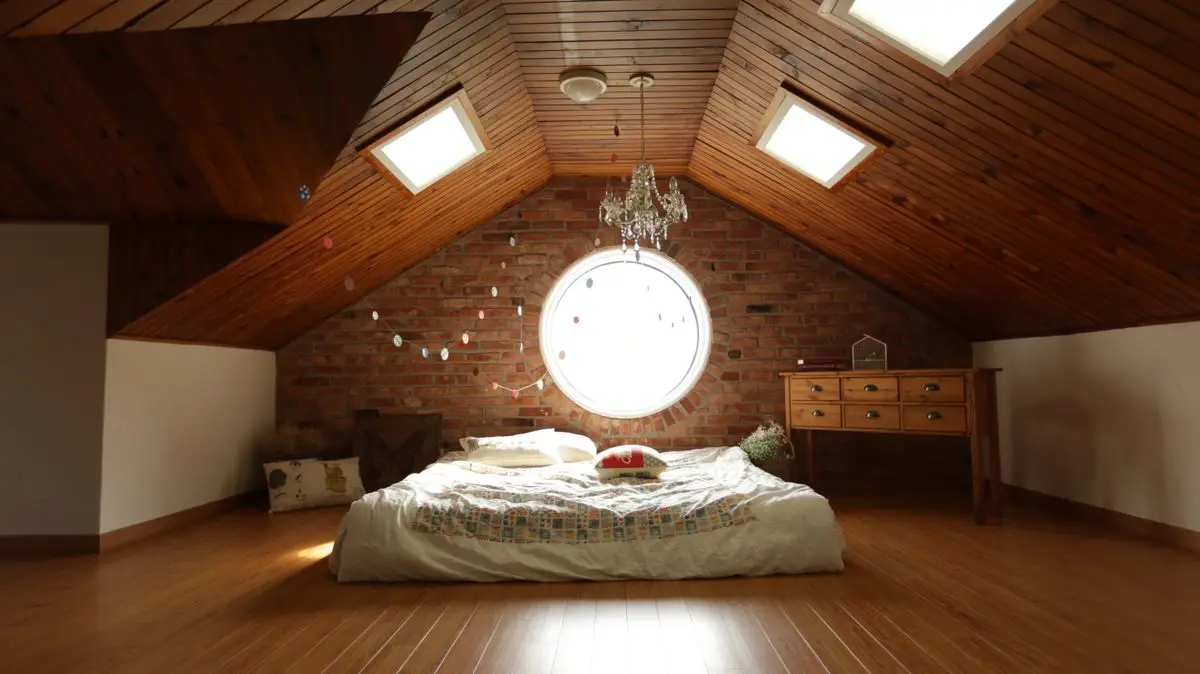
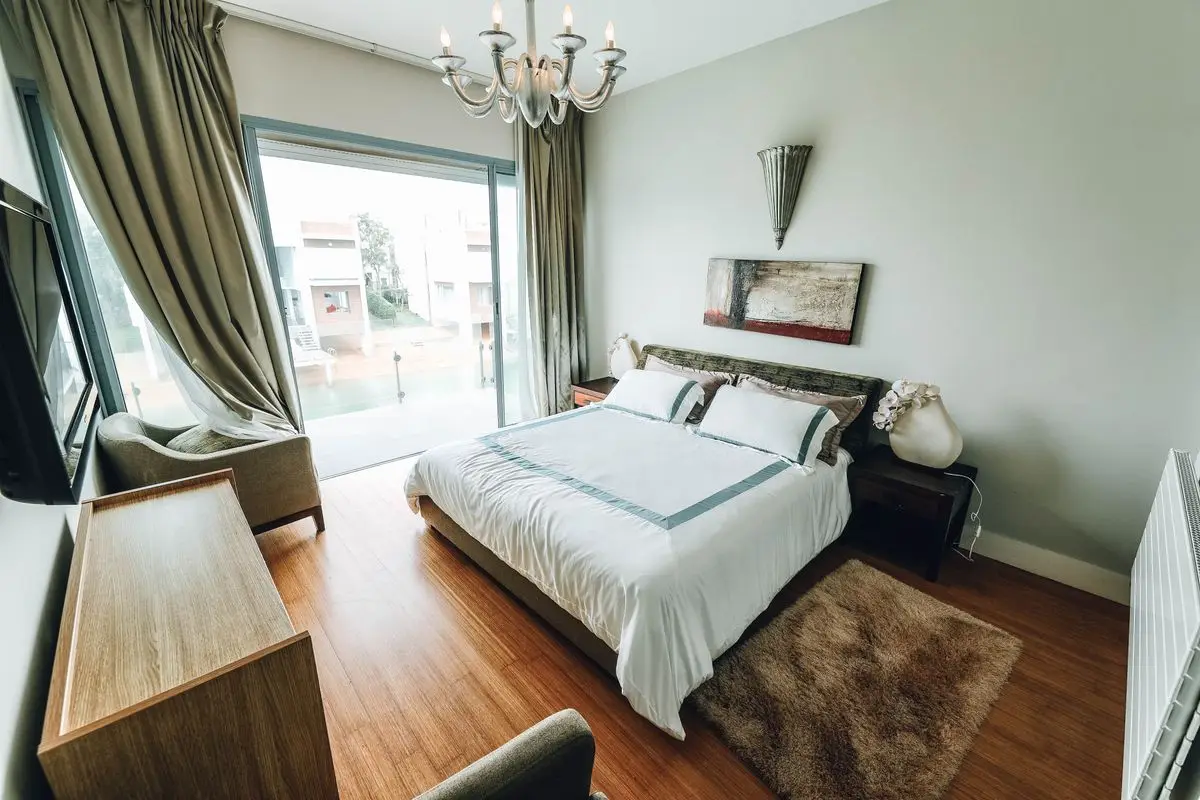
Left: the useful ceiling height is the low point, not the ridge. Right: the dresser length has to share the wall with the bed clearance.
Compare the sketch with the sheet
Use the manufacturer’s finished width, depth, and height. If the sheet also lists a diagonal, keep it. A rigid piece rotates through a door on its diagonal, which is why a path check is the next page, not a footnote. Carton dimensions are a second set of numbers. A flat carton can be longer than the finished piece and thinner. Write “carton” or “finished” next to every figure so they do not get swapped later.
Add the space a door or a drawer needs in front of the piece. A 20-inch drawer that must open fully needs that 20 inches plus a little for your hand, and it needs it on the day you use it, not only on assembly day. If a door on the piece swings into a lamp or another cabinet, the footprint on the sheet was never the whole story.
This page does not tell you that a listed size is accurate. Listings can round, and a leg height can change the total. When the numbers are close — inside an inch of a casing or a soffit — measure the piece itself when it arrives, before you commit to a wall.
Keep the sketch with the job
Date it. Note whether floors were bare or covered. If you are in a rental, the same sketch supports the questions on the rental page: elevator size, protection the building requires, and whether an anchor hole is even something the lease allows. Assembly comes after the piece is in the room, which is the subject of the flat-pack sequence.
A second pass, after the piece is in the building
The first sketch is taken before delivery. The second pass happens when the carton is in the destination room and you can measure the actual piece. Compare finished width, depth, and height with the numbers you wrote from the listing. A listed dimension is a claim on a page. The tape on the piece is the number you will live with. If the two disagree by more than a rounding error, trust the tape and redo the wall check before you assemble anything that is hard to take apart.
While you are there, mark the swing of doors on the piece. A cabinet door that opens toward a window may hit the sill. A wardrobe door that opens toward the bed may need the bed pulled out on assembly day and every day after. Draw that arc on the sketch as a dashed line. It is the space the product sheet never lists as “depth.”
Outlets and switches deserve their own line, not a scribble in the margin. Measure from the nearest corner to the center of each plate, and note the height from the floor. A headboard, a media console, or a bookcase can cover a plate you still need. If the plate must stay reachable, the furniture stops short of it, and the remaining wall length is the number you compare with the piece.
What to photograph
Take one straight-on photo of the destination wall, one of each doorway on the path with the door open, and one of the tightest turn. Include a tape in the frame if you can, so the photo and the written number can be checked against each other later. Photos do not replace the numbers. They remind you which corner the numbers belonged to.
Keep the sketch with the order confirmation or the instruction booklet, not in a camera roll you will not search. When the path is the open question, continue with the moving-path guide and use the same units — feet and inches, or millimeters, but not a mix you have to translate in a stairwell.