
Assembly · Published February 20, 2026 · Updated August 4, 2026
Build the case in the order the holes expect.
A diagram is a sequence, not a picture of the finished piece. Skipping ahead is how cams strip and panels face the wrong way.
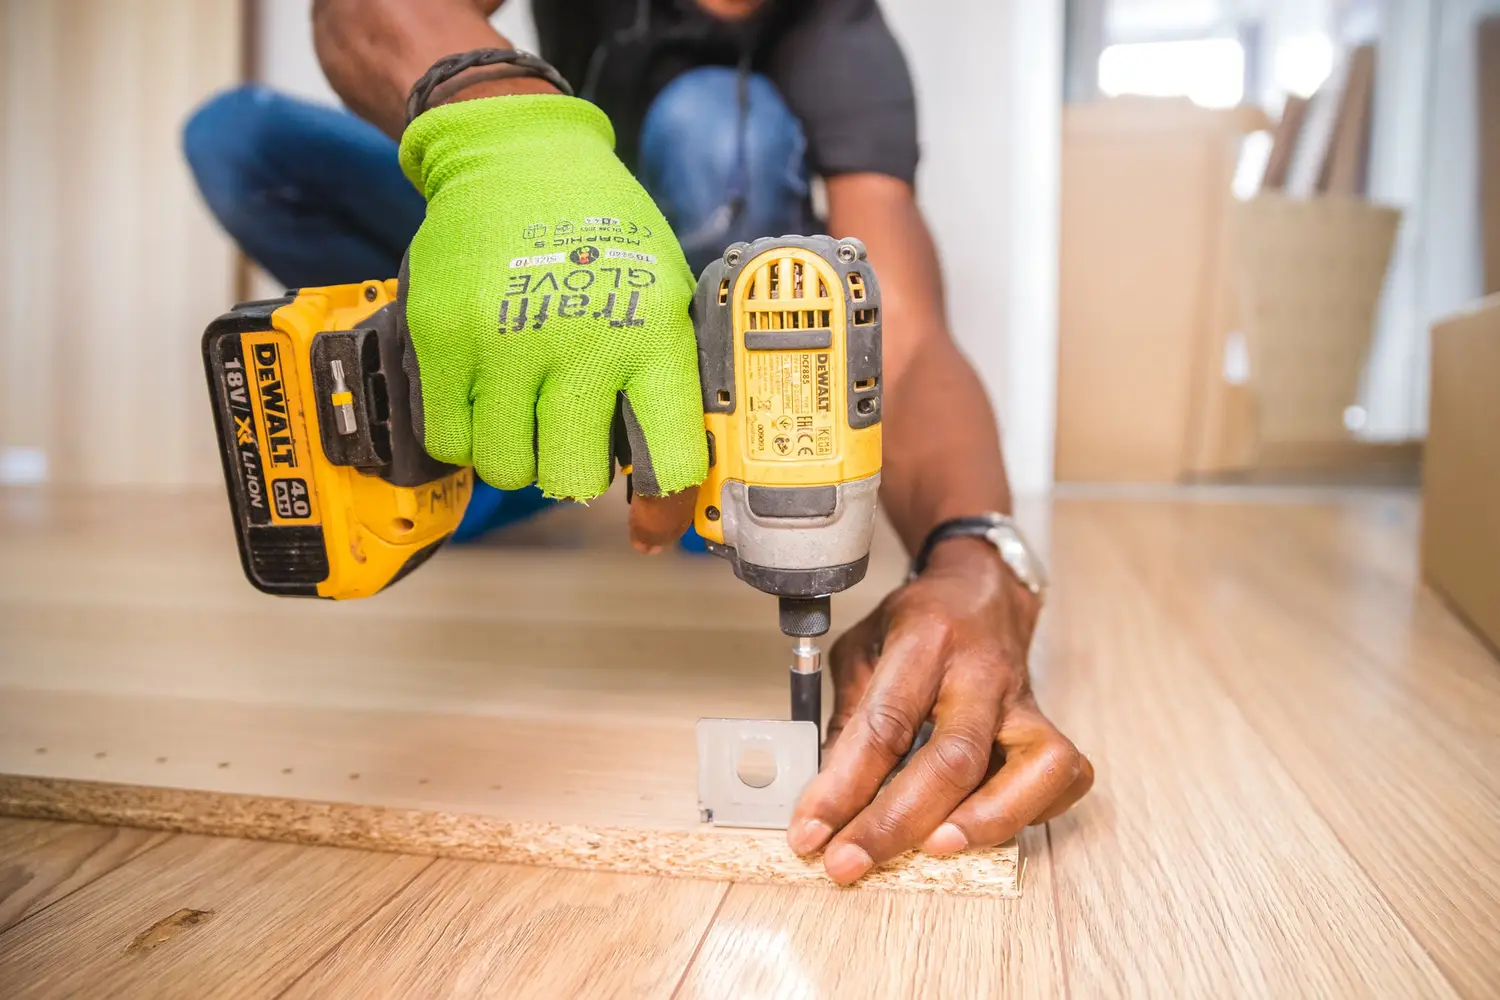

Left: the panel is the work surface only after the floor under it is clean. Right: keep the carton until the parts list matches.
01
Clear a patch of floor larger than the finished piece.
You need room for panels to lie flat and for you to walk around them. A hallway that “will do” usually will not, because you cannot square a case you cannot see from the side. Sweep first. A single stone under a panel becomes a dent or a pivot that throws the holes out of line. If the floor is a finish you care about, put down a clean blanket or hardboard as described in protecting surfaces. Do not assemble on gravelly cardboard from the truck.
02
Count parts before the carton goes to recycling.
Match every panel and every hardware bag to the list in the instructions. Look for holes, not only for outlines. Two side panels can be mirrors of each other, and the finished edge is the clue. If a bag is short, stop and contact the seller you bought from. evsalaryevee does not replace parts. Photograph the labels before you mix bags from two cartons. People assembling a bed and a dresser on the same afternoon mix cams constantly.
03
Sort hardware by job, not by the pile it arrived in.
Cams, dowels, bolts, and screws of two lengths often share a bag. Separate them into cups or onto a labeled sheet of paper. The longer screw is not a universal upgrade. It can exit the far face of a thin panel. Hold each screw against the diagram’s callout before it goes into a hole. A magnetic bowl keeps steel parts from migrating under the panel. It also keeps them off a toddler’s path. This is a practical note, not a claim about any particular room.
04
Read the orientation marks before the first cam turns.
Edges are marked for a reason: a finished face, a predrilled shelf line, a hinge cup. Once a cam turns, that panel is committed until you reverse it. Reversing is allowed. Splitting the panel to avoid reversing is not. If the diagram shows an arrow on the cam, the arrow points at the bolt it will grab, and the turn is usually a half turn to snug, not a full crank. Overtightening strips the particle around the cam. Snug, then stop. If the panel still rocks, the piece is not square yet. Tightening harder will not square it.
05
Square the carcass, then add the back.
Many cases rely on a thin back panel to hold the rectangle. If you attach the back while the case is a parallelogram, the drawers will tell you later. Check diagonal measurements with a tape: the two diagonals of the front opening should match within a small fraction of an inch. Then fit the back into its groove or onto its screws, in the order the diagram shows. Nailing a back on “to be sure” when the diagram uses a groove can bow the sides.
Drawers come after the case is stable. Build one drawer completely and test it before you repeat the pattern. A drawer that binds on the first try is a sign to check the slide orientation, not a sign to sand the whole set.
06
Stand it up with two people, then put it where it will live.
Tall cases tip while they are still in the middle of the room. Two people, a clear path, and no one on the open-drawer side. Slide or lift using the surface guide. Level the piece using feet and shims before you decide a door is “just like that.” If the instructions include a wall restraint, install it after the piece is in its final spot, not while it is still a foot from the wall. The anchoring guide explains what that kit is for and what it does not cover. In a rental, read the lease notes before you drill.
Undo the last connection. Check that you have the panel’s correct face out and the correct end up. Confirm the hardware is the one named in that step. Forcing a bolt into a near miss splits the board, and a split board is no longer something you can adjust back into line. This site cannot send a replacement panel.
What to keep
Keep the instructions with the piece, not in a drawer you will empty during the next move. A later anchor, a spare cam, and the part numbers live on that sheet. If you are checking a room before the carton arrives, the measuring guide tells you which openings to record so the assembly does not happen in a room the finished piece cannot occupy.
Power tools are optional for most cam-and-dowel cases. A clutch on a drill, set low, is there to keep you from overdriving. The photograph on this page shows a drill because some fittings call for one. If you are not sure which fitting you are looking at, use the hand tool named in the diagram.
Space, light, and the floor you are working on
Assembly needs more floor than the finished footprint. Panels lie flat before they stand up. A wardrobe side can be longer than the case is tall, and it needs a clean rectangle with nothing under it. Sweep first. A single stone under a panel becomes a dent you will see every day. The surface guide covers blankets and hardboard. Cardboard from the carton is a start, and it is not padding if it is already torn and full of grit.
Work in the order the booklet prints, including the boring first pages that name the parts. Skipping to the photograph that looks like your step is how a hinge cup ends up on the wrong edge. If a step says “two people,” that is a handling note, not a suggestion. Tall sides tip while the back is still off. Keep children and pets out of the hardware area until the bags are empty and the leftover screws are back in a labeled envelope.
When the case is standing, stop and look before you push it to the wall. Doors should close without a hand holding them. Drawers should travel their full depth. A gap that is wide at the top and tight at the bottom is a square problem or a floor problem. Tightening every cam again will not tell you which. Use the leveling notes after the case is where it will stay, and the anchoring guide if a restraint is in the box.